
How to set a print area in Google Sheets, so you can print selected cells or sheets
You can change the print area of Sheets in one of two ways – by printing only certain cells, or by changing the layout on the page.
Here’s how to do both.
How to print selected cells in Google Sheets
1. Open the Sheets document you wish to print.
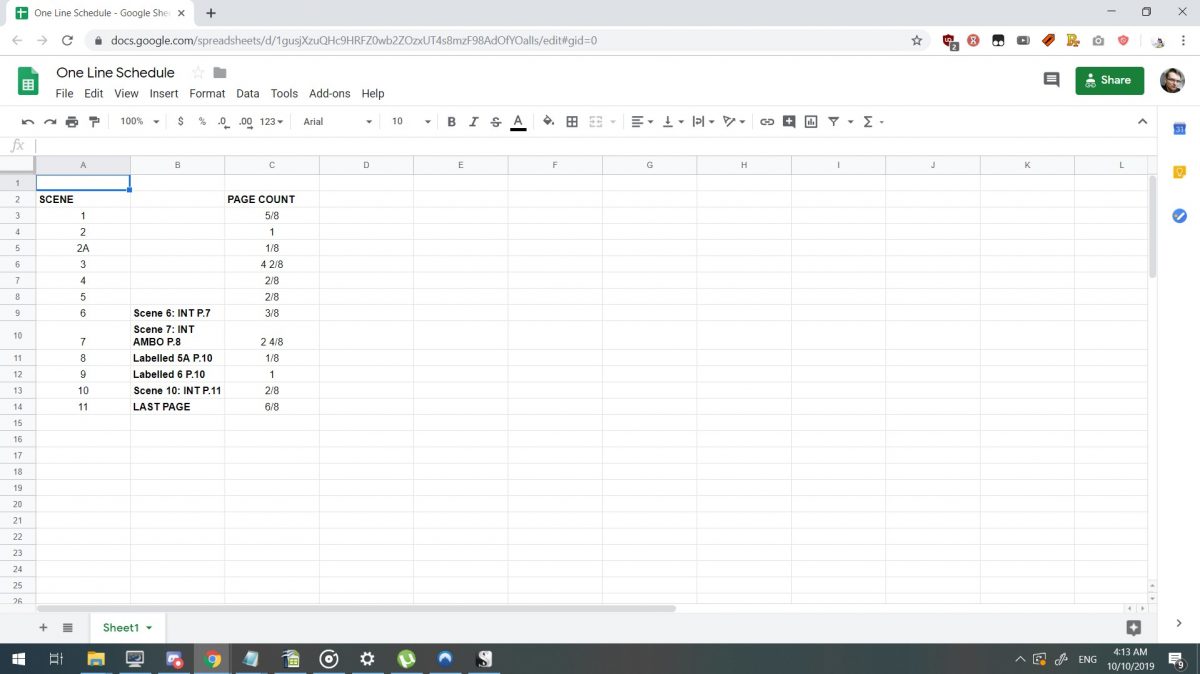
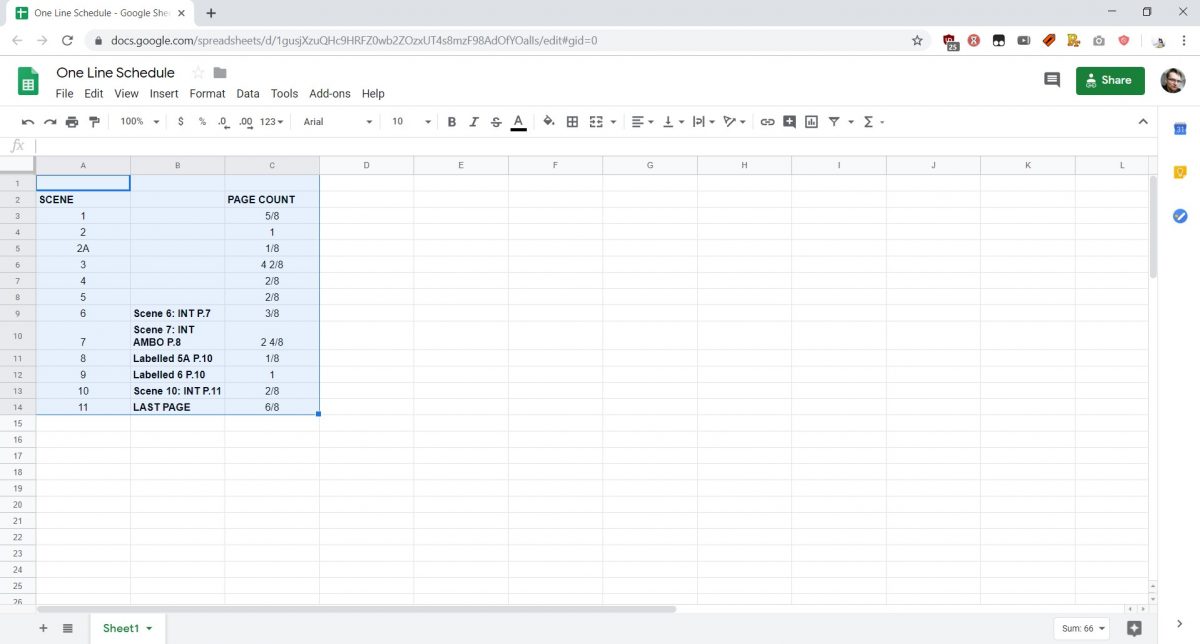
2. Highlight the cells you want to print.
3. Hit Ctrl + P on a PC, or Command + P on a Mac, or go to File, then select Print at the very bottom of the list.
4. In Print options, choose “selected cells.”
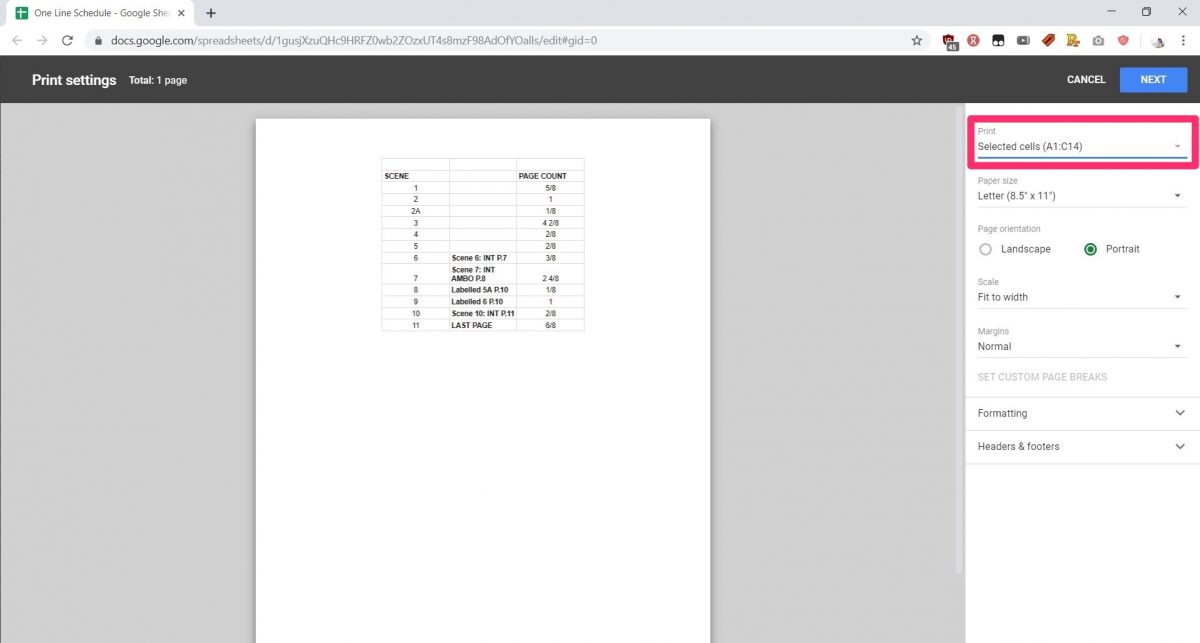
5. This will only print the highlighted region of the current sheet. Highlighting cells across sheets will not group them together.
How to change the print layout in Google Sheets
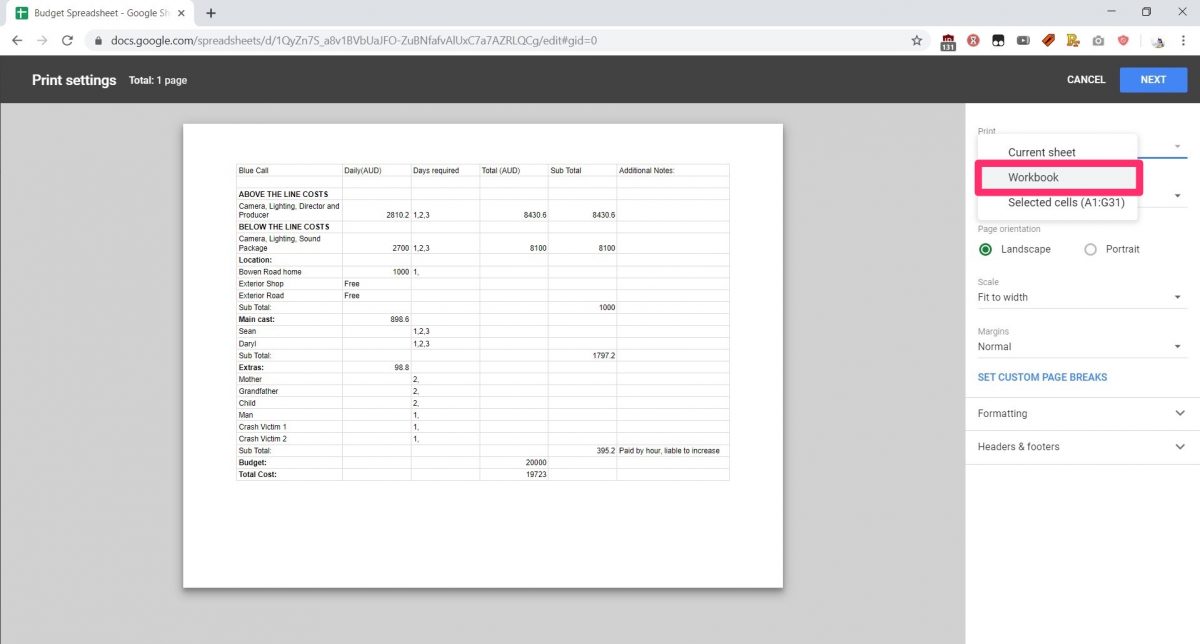
1. You can use the same option as above to choose to print only one sheet, or all sheets in the document. To print all sheets in a document, select “workbook” from the print options.
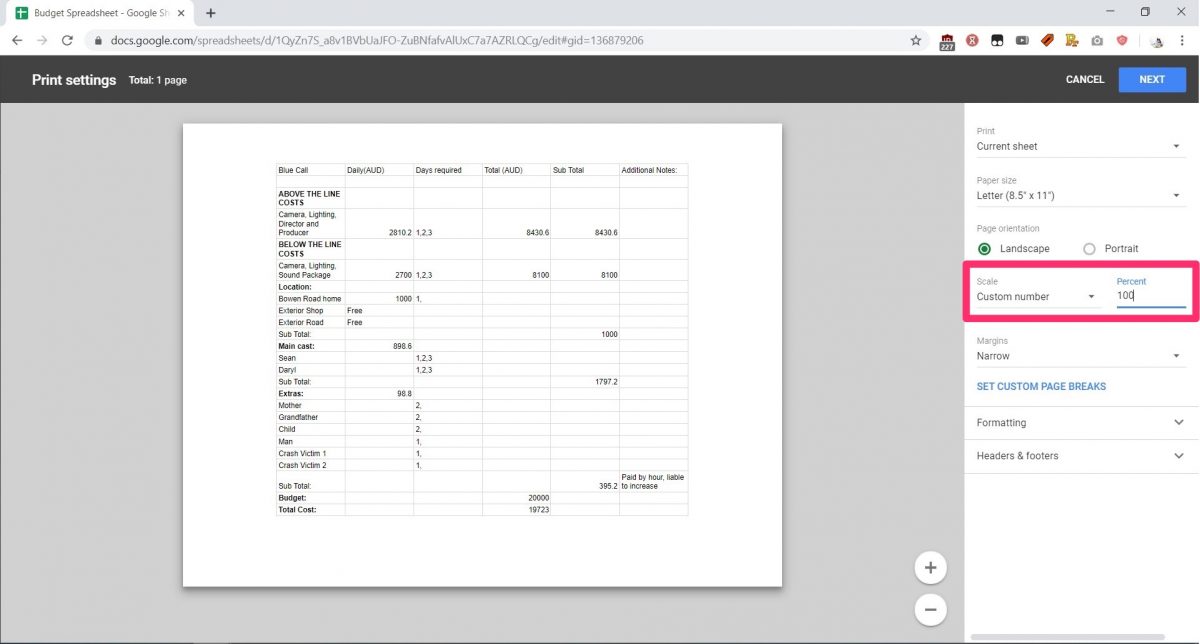
2. If you’re having trouble printing on one page, then you can adjust the Margins to “Narrow,” or select “Fit to page” under scale.
If that doesn’t work, then you can adjust the scale more precisely by setting Scale to “Custom number” and entering the preferred scale as a percentage number. Larger numbers make the sheet or cell bigger on the page and smaller numbers take up less space on the page.
Source: BusinessInsider